Showing posts with label stitch markers. Show all posts

Saturday, September 7, 2013

How to make stitch markers

After last week's stitch marker making session, I was motivated to make more this weekend. I went back to my old method this time. I also took photos to show you how I have been making them.

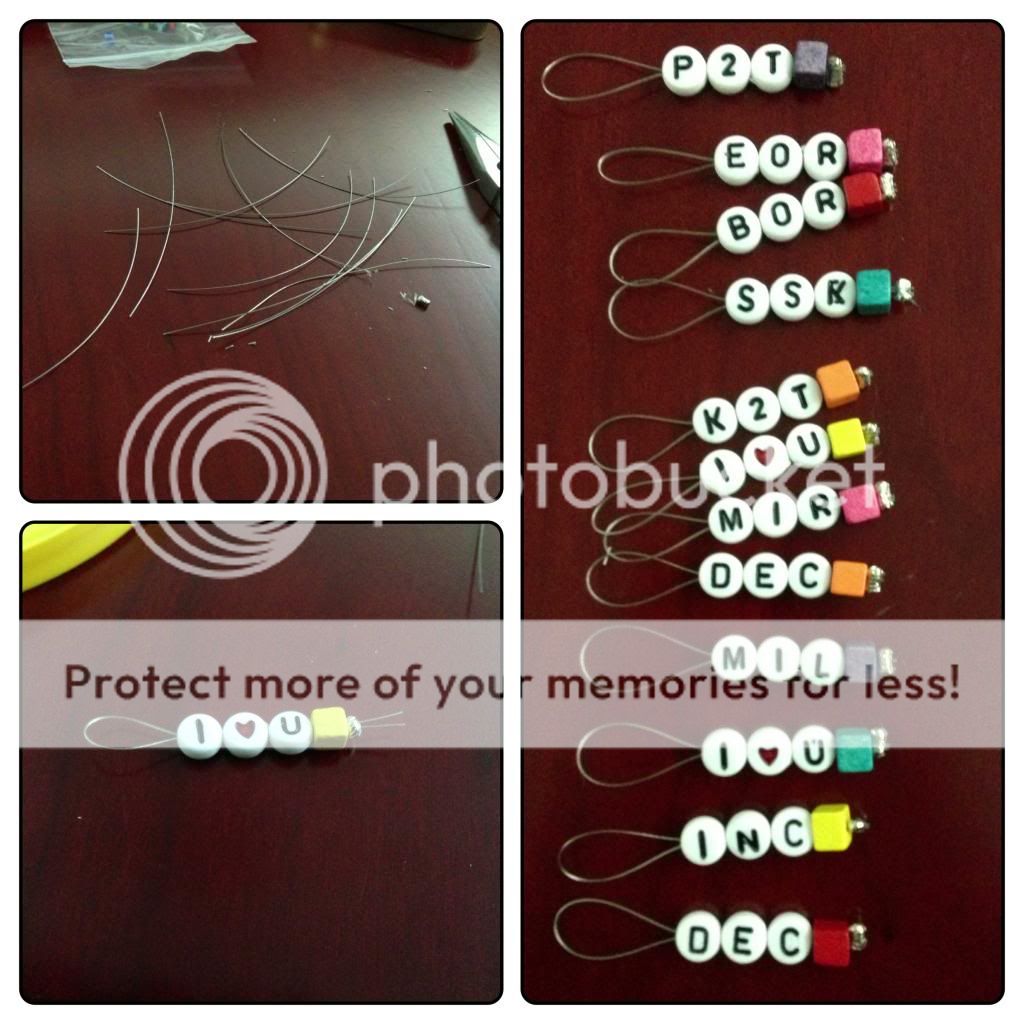
I used braided memory wire for these sets. It has a bit more body than the monofilament that I used last week. Starting at the top left, that is the wire I use. I like it for body and thickness. It cuts easily with a pair of sturdy scissors. Next up are the letter and number beads laid out to make the knitted abbreviation markers. I also add a little bead and crimp to close off the end. However, I didn't measure the wire the first time I cut and cut them too small. So the top right photo shows the smaller markers I ended up making first. The bottom photo is that of the completed markers.

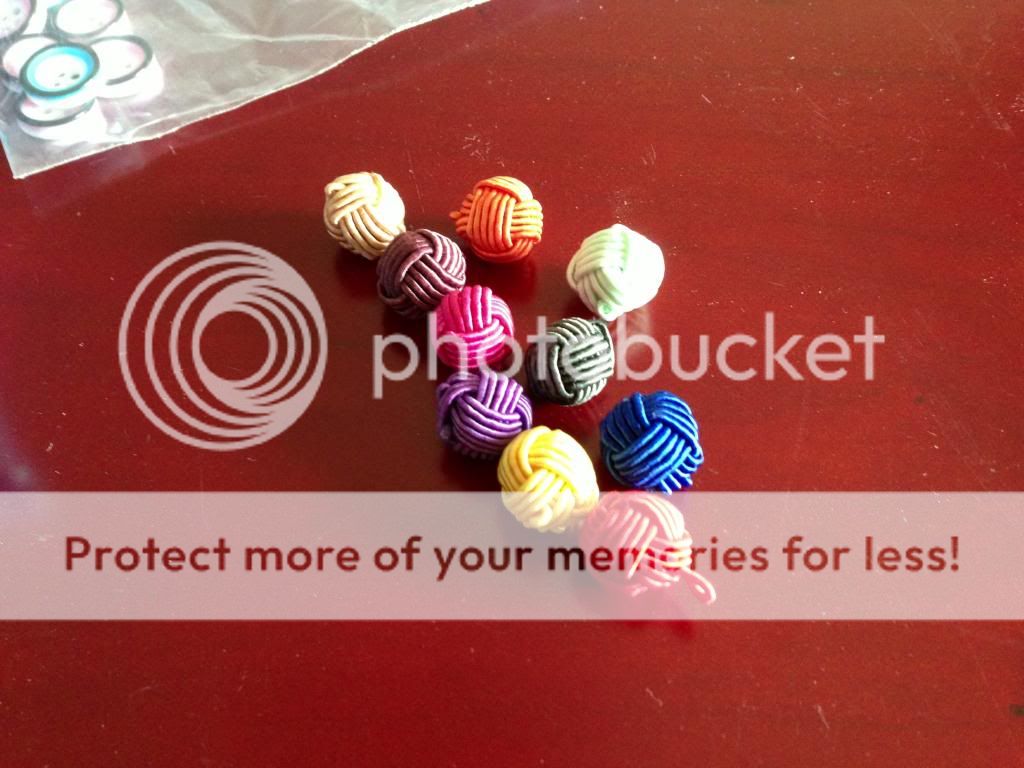
Then I cut more wire to about 4" - which is what is needed for these markers. Each marker has 3 letter or number beads and 1 colored bead to help differentiate them quickly if the abbreviation doesn't make sense. After all, there is nothing that says these must be used where you are going to do some knitting action.

I fold the wire in half and put both ends through the beads in order. This requires a bit of concentration as it is easy to put the bead on up-side down. All the beads need to be oriented the same way although right-side up and up-side down don't make sense except in relation to the other beads. Then I thread on the colored bead and the crimp. I move the beads out of the way, move the crimp to the very edge of the wire and then crimp it with a pair of pliers. Lastly, I trim off the tiny ends of the wire sticking out beyond the crimp.

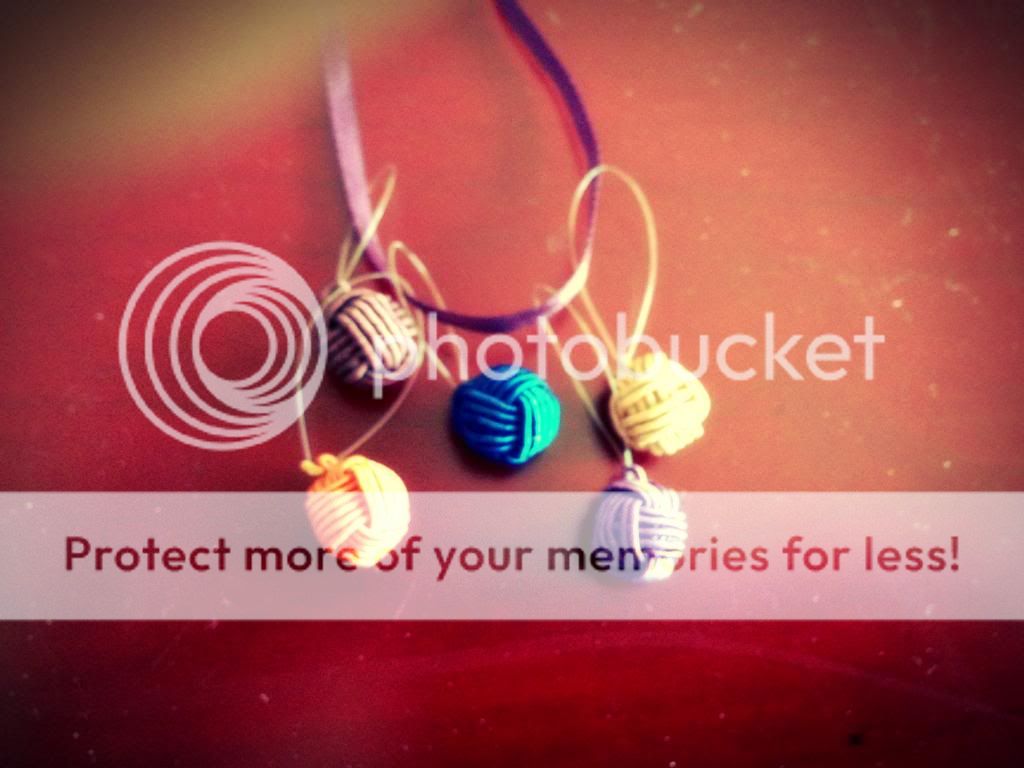
And voila! a stitch marker.

I have put crimps on both ends of the beads also. To do that, you thread the wire:
  1. Crimp first
  2. Beads in the same order as above
  3. Crimp again
First you crimp the bottom crimp (#3). Then you slide the beads and crimp (#1) down and then crimp #1 so the beads are held tightly between the two crimps.

It took about 90 mins to get everything out, laid out, markers completed and the place cleaned up. I made 24 markers today - 12 of each kind.

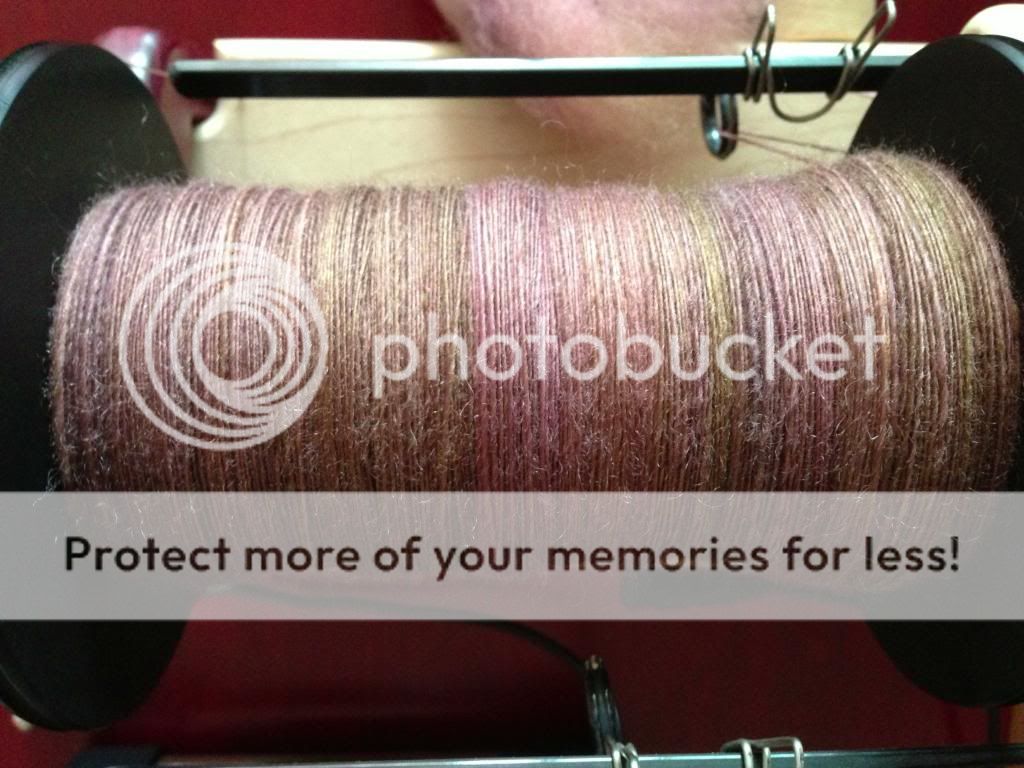
I have also been spinning a lot this week. Remember the Briar Rose BFL I started last week? I am done with one of the two lots already.
And here are the two colors next to each other. I will spin the other color and then ply a bit together to see how it looks. I may even knit it up into a swatch before I decide to go ahead and ply the rest. I don't want to mess this up because I love these colors!
That is all for this week. I will be doing another travel post soon and then there will be more fiber stuff. I have some ideas that I am working on which I want to share.


Sunday, September 1, 2013

Fun with buttons and beads

I had a Raveler friend visiting me from Beijing this weekend. Our plan was to go on a yarn and bead crawl. And did we!

We started yesterday afternoon by taking the Metro to the Dupaqiao station. From there, it is a short walk to Ruijin Er Lu, where there are about 6 yarn shops. I had visited three of them on my walk through the Former French Concession back in March. I had also gone back to a couple when I bought my mink yarn about a month ago.

We just looked yesteray. Then we continued to the Metro station at Shaanxi Nan Lu and went to YuYuan Garden. We had heard that there was a whole building of haberdashery/notions there. And we wanted to check it out.

It took us a while to find it. We wandered through a building that had lots of costume jewelry stores and another one where they make knotted decorations to order. I have to go back to both, but yesterday we were on a mission! We had to find the beads and buttons before the stores closed at 5 pm. We had lots of time but not if we took to browsing. We found a shop selling cross-stitch kits and they told us to go to Shanghai Tan "just across the street". A bit more asking got us to Shanghai Tan - which turned out to be a giant 4 story building. As we got close, we were excited because we saw street vendors with buttons.

We had hit the motherlode. This building has small shops - imagine streets of booths with various notions all inside a building. I didn't take photos as I was battling plantar fasciitis and that and our hunt took all my attention. We found lots of button booths and bought the buttons we needed.

I bought buttons for a pair of mittens I am going to make with the Romney I just finished spinning.
Then we found these lovely art deco buttons that we shared...
And I bought these monkey's fist buttons:
If these look familiar, Hiyahiya makes stitch markers with them. Which is exactly what was on my mind.

We didn't have time to explore all 4 stories of laces, zippers, cords, fringe, plastic fabrics with bling (used for cell phone covers and purses, I think), fur strips, wooden beads, sequins, fake gem stones, etc. We wanted beads!

We had heard of this shop just behind the building that was devoted to beads so we headed off to investigate. On the way we passed larger shops of beads and notions on the street and finally found the bead shop. Sadly, most of the beads were too tiny for knitting. The largest ones could be used for lace weight yarn but we didn't have any yarn to match and none of the colors jumped out at us as easily used colors. But now we knew where it was.

As we walked back to the Metro, I spotted a bead shop on the outside of the Shanghai Tan building. We popped in and found a few bags of beads we could use. But again, without specific yarn, we stuck to colors that would work with a variety of colors.
We split the big bags but this is equivalent to about 4 tubes of beads each.

By this time the stores were closing and my feet hurt badly so we headed home.

This morning we made stitch markers -
I had brought some beading filament from the US just for such purposes:
It is a bit fine. I need thicker monofilament for stitch markers but these are functional.
I put a length of the monofilament through the little loop on the monkey's fit buttons and melted the ends together. It took some trial and error to melt it cleanly on the gas stove, as I didn't have either candles or a lighter. We also experimented with the length of the monofilament. I will try them out and see if they are usable or if the loop is so thin that it doesn't work.

Then I pulled out some cord I had bought in the US to make knotted stitch markers. We tried and tried to make a jar sling knot. [I have since found some videos on it and will try again]. Giving up in frustration, we switched to figure-8 knots and had a bit of success.
I bought wildly colored variegated cord just to have a variety of colors to make the markers.
They are quite functional but I think they would work better for thicker yarn - just as I think the first set would work well for lace weight. We passed the ends through the gas flame to prevent them from fraying.

I can see having a lot of fun making these knotted markers and learning some knots along the way. The biggest challenge is controlling the size of the loop. We found that having the color change in the loop makes for more interesting knots although the cord didn't always cooperate.

After the stitch marker making, I pulled out the Hansen and we started spinning some Briar Rose BFL I had. My friend is a newbie spinner and she had fun spinning worsted, thin yarn. She did very well. I continued a bit after I got home in the evening.
This yarn will have very subtle colors. I am hoping to ply it with another lot that has some coordinating colors but I have to make sure the combination doesn't turn to mud. Based on her advice, I am planning a fingering weight yarn to make a Featherweight Cardi. It will be my first spinning for a garment so I am excited. I have 5.5 oz of one lot and 6 oz of the other so if the colors work out, I should have enough. Otherwise, I will ply each one to itself and maybe combine them into the cardi in some way.

This afternoon we went back to one of the yarn stores which was closed yesterday for some internal business - looked like inventory through the door. She bought some mink yarn and we both bought some sock yarn that she has used before. I bought a few balls that looked interesting in color. It is mostly wool (about 90%) and washes and wears well.

After that, we went our separate ways. She took off for the railway station to head back to Beijing and I came home to spin and blog!


Friday, July 5, 2013

A Tour de Fleece diversion

I am interrupting the Beijing trip details to talk about fiber. The Tour de Fleece started on June 29th. I was in many minds about my goals for this year. I thought I might spindle on a couple of spindles - supported and suspended. But eventually I narrowed it down to a simple goal: learn to do the ply on the fly technique.

I had this Rambouillet braid that has a lot of different colors. Really bright different colors. Really, really bright different colors. Get the picture. It would become quite muddy if I tried to ply it as usual and it just called out for a chain ply.

What is ply on the fly? It is a technique where you spin a length of fiber, make a chain and then ply it as you go. It was invented by Tammy Rizzo a few years ago and I have been intrigued by it but I never had the inclination to sit down and figure it out. Well, the time had come.

I downloaded all the ply on the fly videos that I could find to my iPad. I started spinning the fiber on my trindle and then I didn't spin for the first 4 days of the Tour. But then I picked it up and immediately got hooked. I spun a length and then watched this video
Then I watched this one
and then I sat down and did it. Voila! I was doing it.

Since then, I have been spinning daily and learning to do the technique better. One thing I learned about myself is that I prefer to spin a long length of single, winding it on the spindle as I go. Then I unwind it off and butterfly it onto my hand before plying all of it. It seems to go smoother to do it this way rather than alternating the two more frequently.

With that as a prequel, here are my Tour pictures so far...
This is the fiber. I warned you. It is bright but the colors are so pretty. This is why I wanted to chain ply it and preserve the colors.
Since the fiber is Rambouillet I am plying it rather tightly. I want to make sure I get a nice smooth round yarn which will not pill as easily as Rambouillet is known to do.
Day 5 spinning.
Day 6 spinning. Yes, there is very little progress but that is YARN! I don't need to ply it!
And last but not least, day 7. I have been photographing my progress at night and then posting it to the appropriate thread in the am. It is easier than trying to do it all at night. I am a member of three teams and so I need to post the pictures in at least 3 team threads.

Actually, I just finished spinning and plying that fiber in the photo above. That will go into the day 8 progress photo.

I have also been making stitch markers based on this tutorial. I have given away all the ones I have made so far. I will make more and photograph the results one of these days. It is a lot of fun. I should make some for myself.

I will probably go back to a Beijing post and then alternate with Tour updates. But who knows? Maybe I'll find something else to write about.