Tuesday, October 22, 2013

My very own Rhinebeck aka an ode to my favorite vendors

Last weekend was Rhinebeck and I wasn't there! I felt very sorry for myself because it is one of the weekends when I get to meet friends from far and near and soak up the fumes of fiber.

So I created my own Rhinebeck. I pulled out tools and fibers from people I loved and that I usually meet at Rhinebeck and played with them.

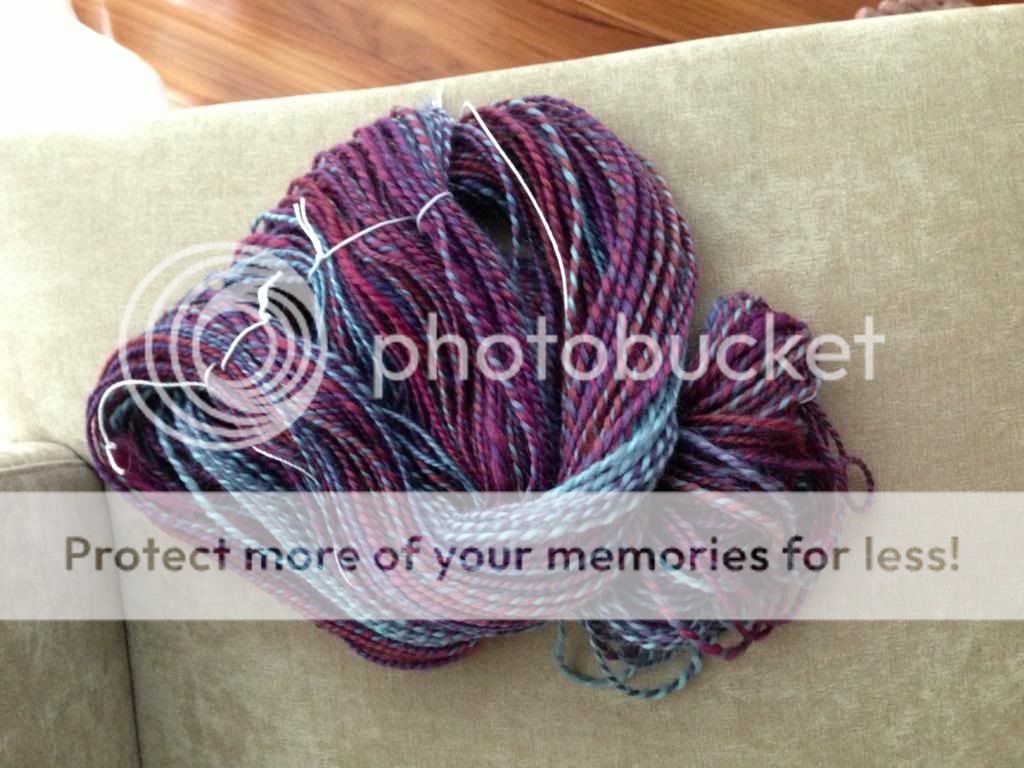
First of all, I wound off the Briar Rose BFL I had spun and plied and finished it. I am very pleased with the results.
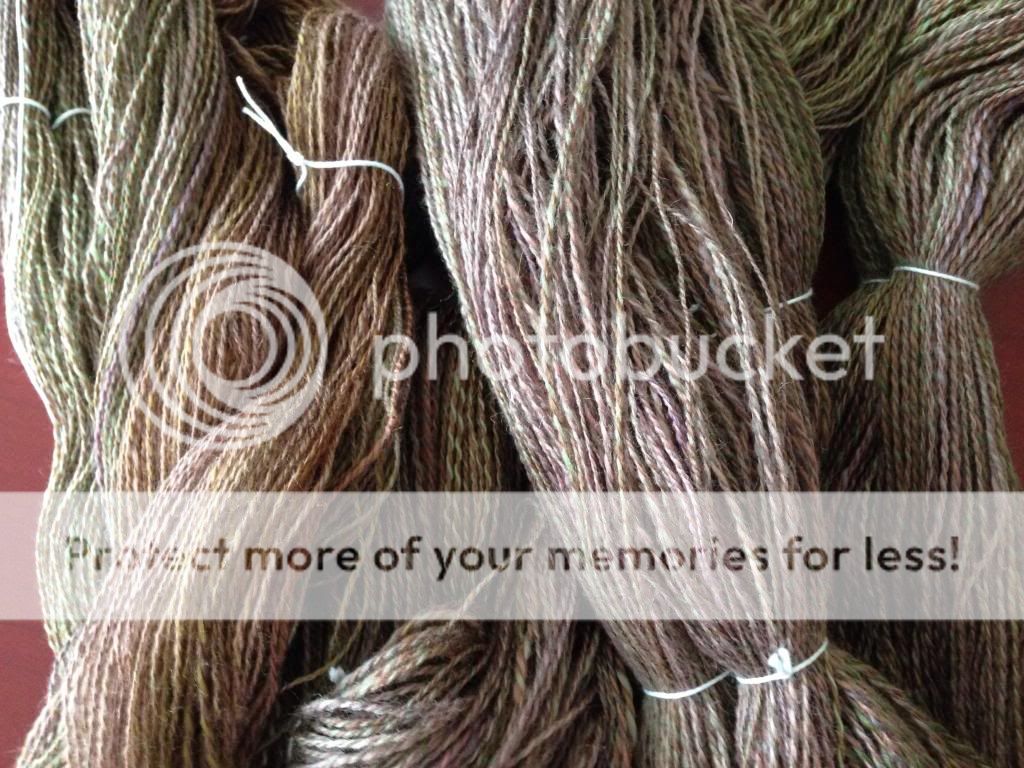
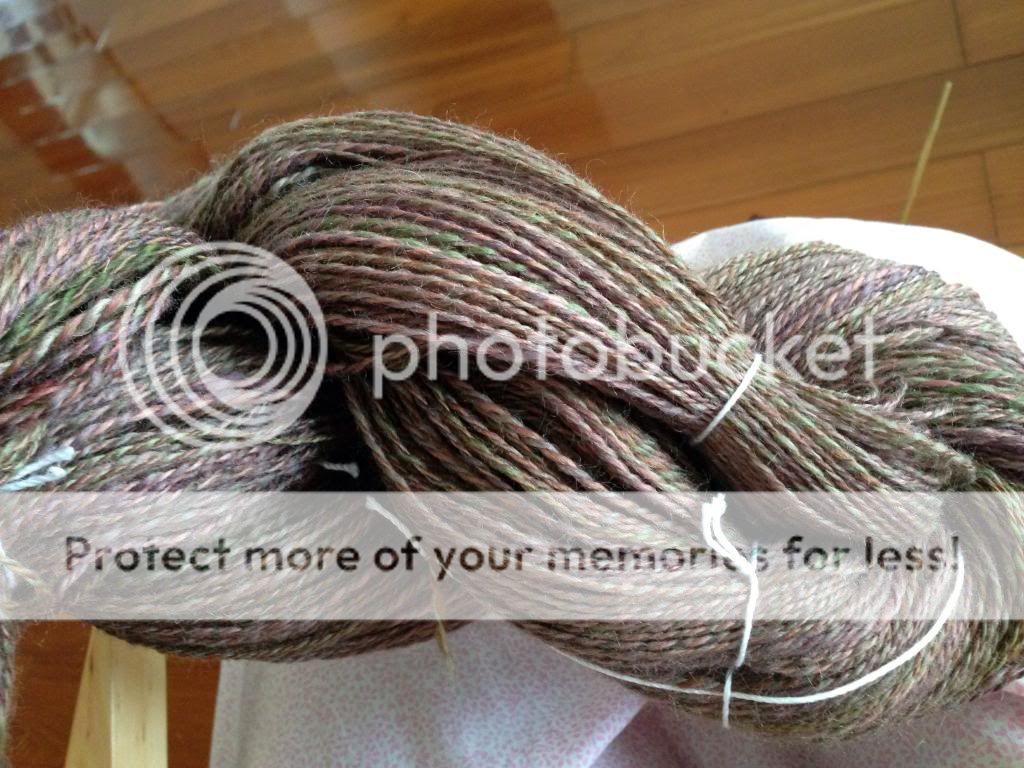
I have two skeins. One is big and one is small. The big one is in the lower picture. The top picture is both the skeins next to each other. I have over 900 yds and hope it will be enough for a Featherweight cardi. While I did it, I remembered hanging out with Chris Roosier of Briar Rose.

I didn't actually spin on the Hansen but I did take it out to wind off the skeins since one of the bobbins was on the Hansen. So I touched it and thought of the Hansens.

Then I took out my support spindle and finished spinning a single of the Ferndale Fibers Pot O' Gold roving. I moved on to the second single on my new-to-me Enid Ashcroft Tibetan.
And I used my Jennie the Potter spider bowl. I usually help Jennie out on Saturday morning so I thought of the fun times that I've had over the years at her booth.

I couldn't think of anything to do to celebrate my other friends - Sheila Ernst and Lisa Souza so I just thought of them.

And remember this?
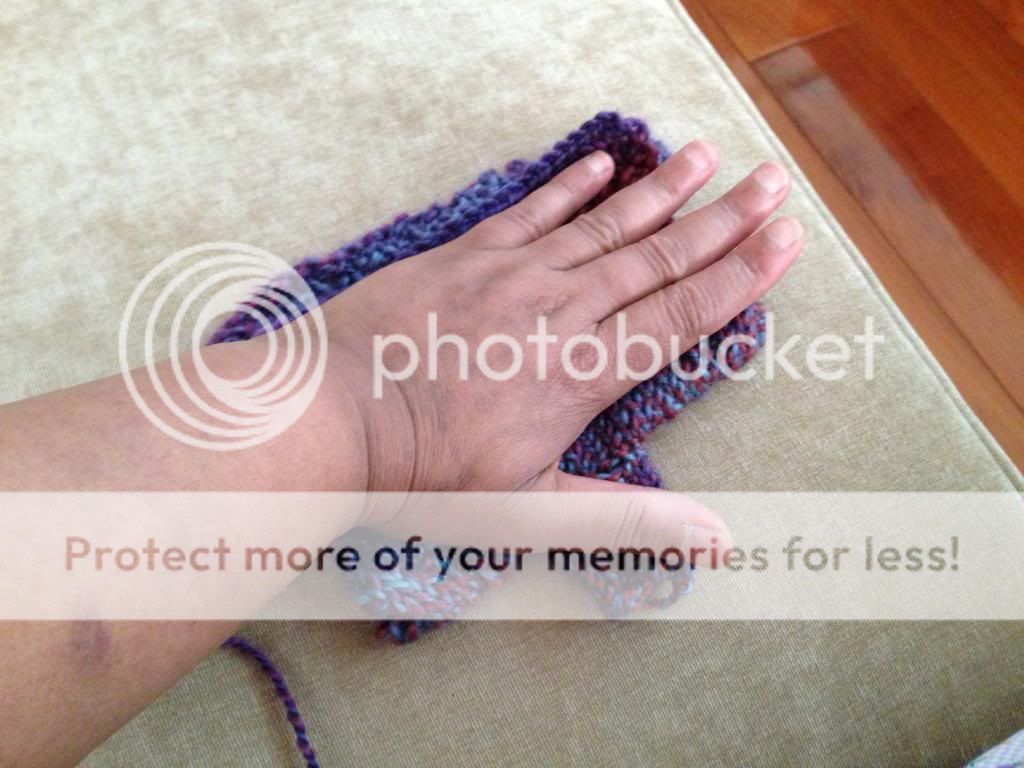
The Corgi Hill Farm fiber that I've been plying for ages? Well, I pulled it out and determined to ply for at least 30 mins every day. This is the state of it at the end of today's session. It is a very slow process as the Swan spins long but slow due to the weight of the cop on it. But I'm getting there. There is a core of other fiber inside that plying ball so I don't think I have that much to go. But I won't know till I get there. In the process, I worked with two more favorite vendors - Corgi Hill Farm and the Jenkins' Turkish spindles. Neither are Rhinebeck vendors but so what? They are chock full of fiber fumes.

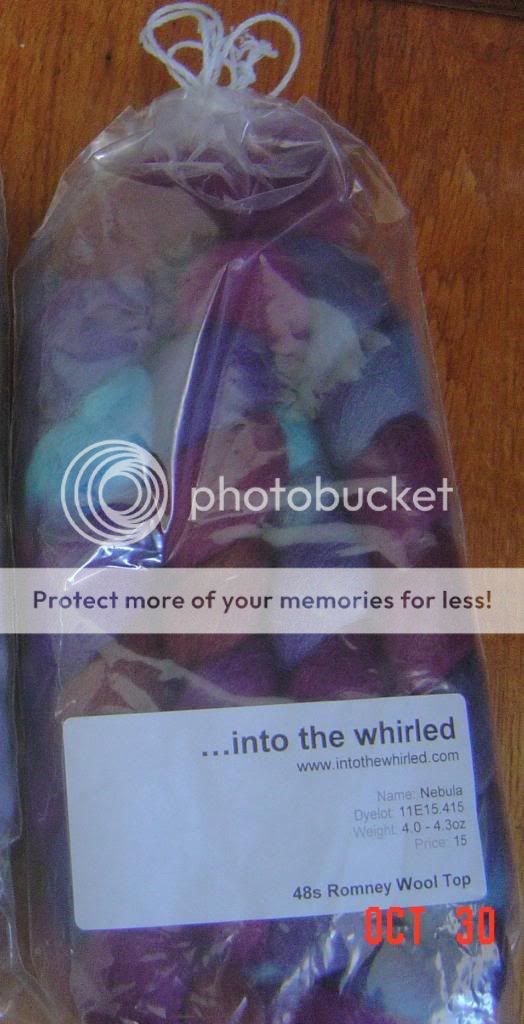
I didn't do anything with Fiber Optic either. I usually visit her booth and Into the Whirled and Handspun by Stefania but I don't know them well enough to call them friends. Given I just finished knitting with fiber from both Fiber Optic and Into the Whirled and I think I am going to spin some roving from Stefania, I have been and will be thinking a lot about them.

And that is the end of my little Rhinebeck. A big hug to everyone who was there. I hope you had a great time. I heard the weather was fabulous. Here's to next year!

Sunday, October 20, 2013

Top down sleeve caps in the round - my version

Top down set-in sleeves are very cool. The sleeve cap makes itself; there is no sewing in of the sleeve into the armhole; and the knitting is easy. Well, it is easy if you've done some math to prepare.
First of all, seam the shoulder and side seams on the body, if you have not knitted it in the round. Pick up stitches around the armhole. You need to pick up 1 st for each bound st on the underarm, and 3 sts in every 4 rows in the vertical portion of the armhole. In the curved part, you need to pick up sts evenly spaced at a rate that looks nice, lays flat and doesn't ruffle. Make sure the number of sts on either side of the armhole - between the side and shoulder seams on each side - are the same. It also helps if you have an even number of sts but if you have an odd number, the center st should line up with the shoulder seam.

I take some time picking up sts as it makes a real difference in the way the finished sweater looks. Finishing matters!

Once you have that done, count the number of sts you have on the needle. Place markers at the point where the armhole bound of sts end, on either side. These are points C and D in the diagram above.

Now for the mathematics. No, it isn't hard. Just simple division.
Divide the total # of st by 3. Mark off these thirds. Now you have points A and B in the diagram above. If you have 1 extra st, put it in the section between A and B. If you have 2 extra sts in the remainder, put 1 each between A and C and another between B and D. These will tell you where exactly your A and B markers go.

The sts between A and B are the top of the sleeve cap. The sts in A-C and B-D sections will be where you work your short rows. .

Next, divide the number of sts in A-C and B-D (which should be the same if you have done everything correctly) into 3. This will now give you the points marked by the arrows above. Place a marker 1/3 of the way up from C and 1/3 of the way up from D. These now mark off the section in orange in the diagram above

We are now ready to start knitting. Your beginning of round will be at the side seam, mid-way between C and D. Start knitting and knit all the way to B. Turn and knit back to A, k 1 more st and turn. Knit to 1 st past B and turn. Continue knitting this way, increasing the length of the short rows by 1 st on each row (which will be on each side of the armhole) until all the sts in the black sections are incorporated into the short rows. You are now at the section of the armhole that is marked in orange.

Now you will start increasing the length of each short row by 2 sts. Why? because it reduces the number of short rows that you will work and that flattens the height of the sleeve cap. If I don't do this, I find that the sleeve cap had a bit of a puff sleeve look to it and I don't like that. If I decrease the number of short rows this way, I get a perfectly fitting sleeve cap.

You are done with short-rowing when you are at points C and D. Just knit across these sts and your sleeve cap is complete. You can now start knitting the sleeve, either knitting straight or decreasing at the sleeve seam as your shaping dictates.

I supposed that if you want to flatten the sleeve cap any further, you can divide the side sections (A-C, B-D) in half and lengthen the short rows by 1 st for half the sts and by 2 sts for the other half. Once you recognize that you don't have to keep lengthening the short rows at an even rate, you can create a very customized sleeve cap. Just keep good notes so you can repeat it on the other side!

As for the short rows themselves, I like a wrap and turn. I don't pick up the wraps. It gives me a look that I think imitates the 'fully fashioned' shaping that some commercial sweaters have. I happen to like that look. You can use whatever short row method you like.

I hope this helps and isn't too hard to follow!

Saturday, October 12, 2013

More knitting from handspun

I decided to put the Viajante away for the trip since it was getting a bit big and bulky. Instead, I took the Romney that I had spun for mitts. I didn't have a mitt pattern in mind but was intrigued by the construction of one that I saw on Ravelry. I don't even remember which one it was because there were many aspects of it that I didn't like.

Anyway, I started and finished one mitt on the plane and started the second. I definitely did not help myself with the right tools. I had brought a number of needles as I didn't know which one would work. A size 7 was perfect. It made a nice dense fabric. I am also pleased with the way the colors have turned out on the yarn. It is the Nebula colorway from Into the Whirled.


The construction is simple. It is a rectangle with a button band on one side and a buttonhole band on the other. I used a k1, p1 followed by an all knit row and then a p1, k1 with the same all knit row. The ends curl a bit but won't once I button up the sides.

At the correct point, I put 7 sts on a holder (FAIL #2 - no holder) for the thumb. I resorted to using a tiny safety pin that barely held the sts. I wish I had had some scrap yarn but I didn't. So I cast on the sts using an e-wrap and continued.

FAIL #1 was not having a cable needle. Yes, I can cable without a cable needle - I have proof that I can (see photo above) but I prefer not to. I find it much faster to cable with a cable needle.

I then picked up the sts and made a little thumb as my thumb looked naked just protruding from the slit.
It fits perfectly but I knew that. I was measuring as I went - I am sure I got a few strange looks from passers-by on the plane but I didn't notice. The elderly lady sitting next to me was fascinated and watched me the whole time.

It is a bit messy looking on the hand without the buttons to hold it on.
I started the second mitt but I only have a couple of the cable twists done. I think I'll have it done next week. I don't like the buttons I bought - plus I made 6 button holes in the mitt and only have 10 total buttons (FAIL #3). So I am planning to go tomorrow with the mitt in hand and buy more buttons.

I spent this afternoon (actually about 30 mins) polishing my silver jewelry. I haven't been able to wear any of it as all were badly tarnished. Now they are looking nice and I can wear them. I used some stuff I found in the grocery store in the US - Wright's Silver Cream. It does a nice job.
No spinning or knitting since I got back as I've been at work (remember that?) and busy with jet-lag in the evening. I pretend it doesn't exist and try not to sleep in daylight or turn the lights on at night. But I do go to sleep early and get up early. If it is still dark, I stay in bed with the light off and listen to podcasts.

It might take some adjustment to go to work for a full week after 2 weeks off.

Last but not least, some lovely fall colors from Pennsylvania...
Shanghai is hot (79 F/27 C) and humid so I am vicariously enjoying the crisp fall weather by looking at the photos.

and a NYC skyline taken from the Whitestone bridge...
We were crawling along so I whipped out the camera and took a photo.

Tuesday, October 1, 2013

Viajante is growing, slowly but surely

I just started on ball #4 yesterday during Monday Night Football. I have to knit stockinette till I get 80% into ball # 5 and then I start on the lace edging. It is the perfect knitting for this trip as it requires absolutely no brain power at all.

Yes, I know. b.o.r.i.n.g. But you can't feel the lovely hand and the warmth of the shawl in my lap. It will be very wearable when it is done.